We Grew Tomatoes Upside Down: Here's What Happened
We tried the viral upside-down tomato hack so you don't have to! Discover what worked, what flopped, and how to try it yourself at home.

When we first heard about growing tomatoes upside down, we were skeptical. It sounded like a gardening gimmick — the kind of thing that looks great in a photo but falls apart the moment you actually try it. So we decided to test it ourselves, document everything, and share the honest results with you here.
If you have a small balcony, a patio with no raised beds, or just not enough ground space for a traditional tomato cage setup, this method might genuinely solve a real problem for you. Or it might not. Either way, here is exactly what we found.
What is upside-down tomato growing, exactly?
The idea is simple: instead of planting your tomato seedling in a pot that sits on the ground, you plant it through a hole in the bottom of a hanging container. The plant grows downward, out of the base, while the roots stay in the soil above. Gravity pulls the vines down naturally, which means no cages, no stakes, and no tying up sprawling stems.
You can buy purpose-built upside-down planters, or you can make one yourself from a five-gallon bucket. We used the bucket method because it cost us almost nothing and let us control the soil mix. The hole at the bottom needs to be about 2 inches in diameter — large enough for the seedling stem to pass through without damage, but small enough that soil does not fall out around it.
How we set it up: materials and timing
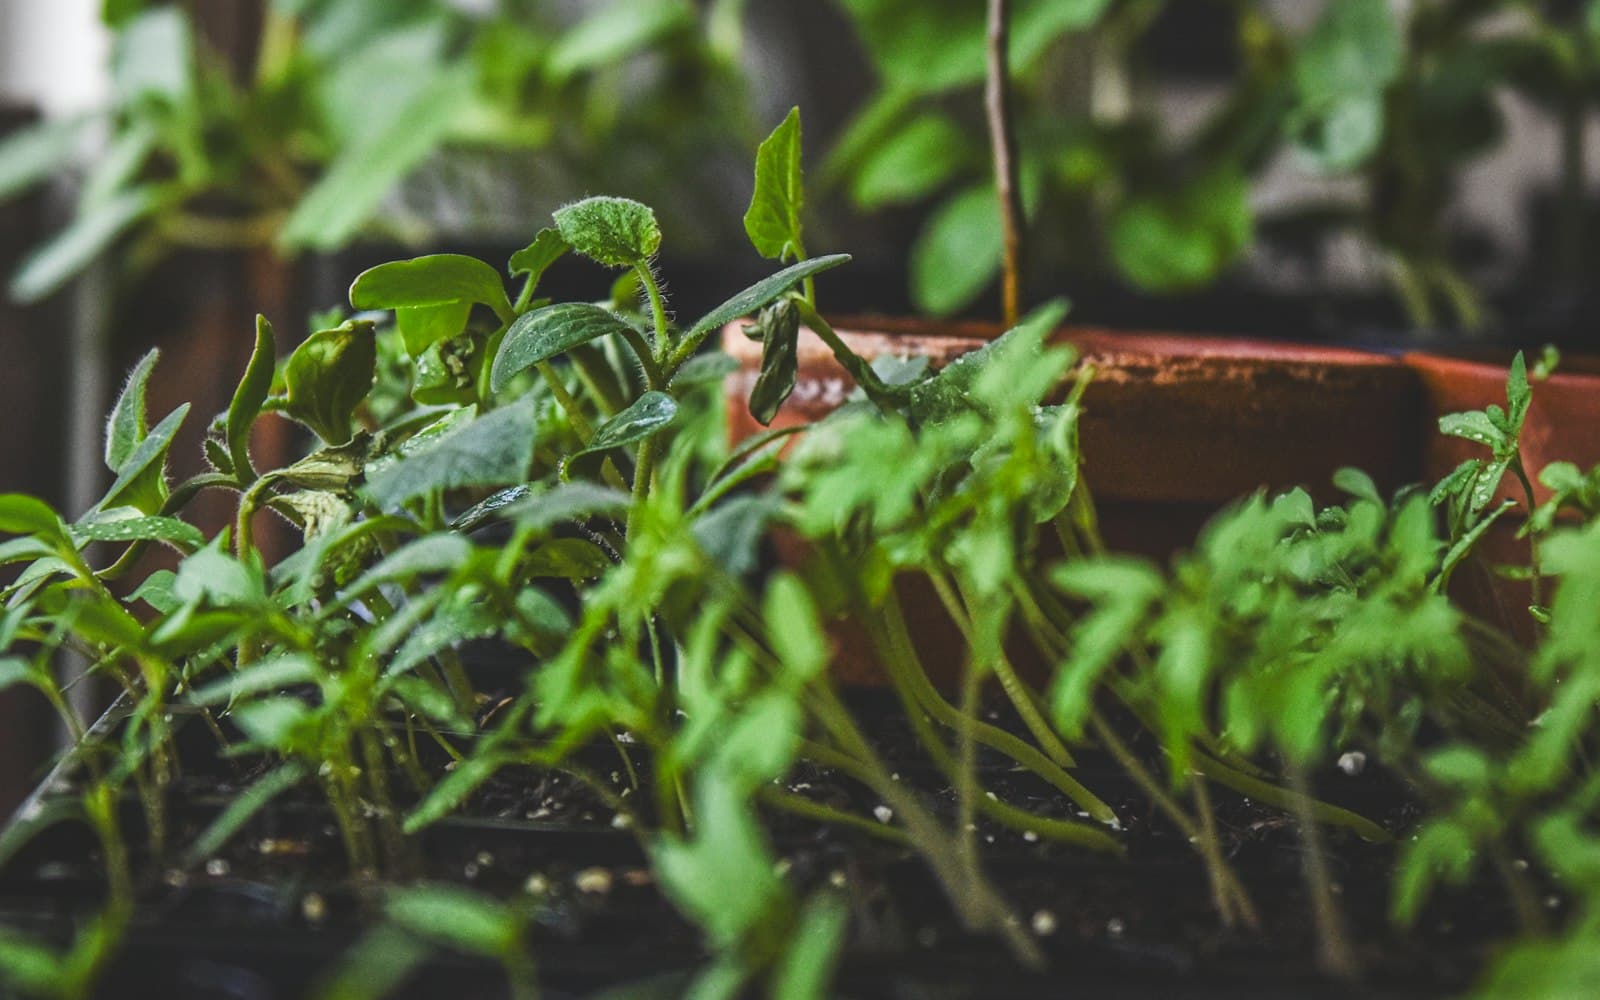
We started our tomato seedlings indoors about six weeks before our last expected frost date, which is standard for most regions in the northern hemisphere. If you are not sure of your last frost date, your local cooperative extension office is a reliable free resource. We used a compact determinate variety called Patio Princess, which stays smaller and works better in containers than large indeterminate types like Brandywine or Big Boy.
Here is a quick overview of what we used and the key numbers that guided our setup:
| Item | Specification | Notes |
|---|---|---|
| Container | 5-gallon bucket | Minimum size for one tomato plant |
| Bottom hole diameter | 2 inches | Cut with a hole saw or sharp knife |
| Seedling age at transplant | 6 weeks old | Stem should be pencil-thick or slightly thicker |
| Outdoor planting date | After last frost | Soil temperature at least 60 degrees Fahrenheit |
| Hanging height | At least 4 feet off ground | Allows vines to hang freely without touching soil |
| Watering frequency | Daily in warm weather | Containers dry out faster than ground beds |
We stuffed a small piece of landscape fabric loosely around the seedling stem where it passed through the hole, which kept the soil in place without strangling the plant. Then we filled the bucket from the top with a mix of potting soil and a slow-release granular fertilizer, following the package rate exactly.
What actually grew well
Honestly, more than we expected. Within about three weeks of hanging the bucket outdoors after our last frost, the plant had adjusted to growing downward and was putting out healthy new growth. The stems did not seem confused — tomato vines are flexible and follow light, so they curved slightly back upward at the tips, which is completely normal and called negative gravitropism. We let it do its thing.
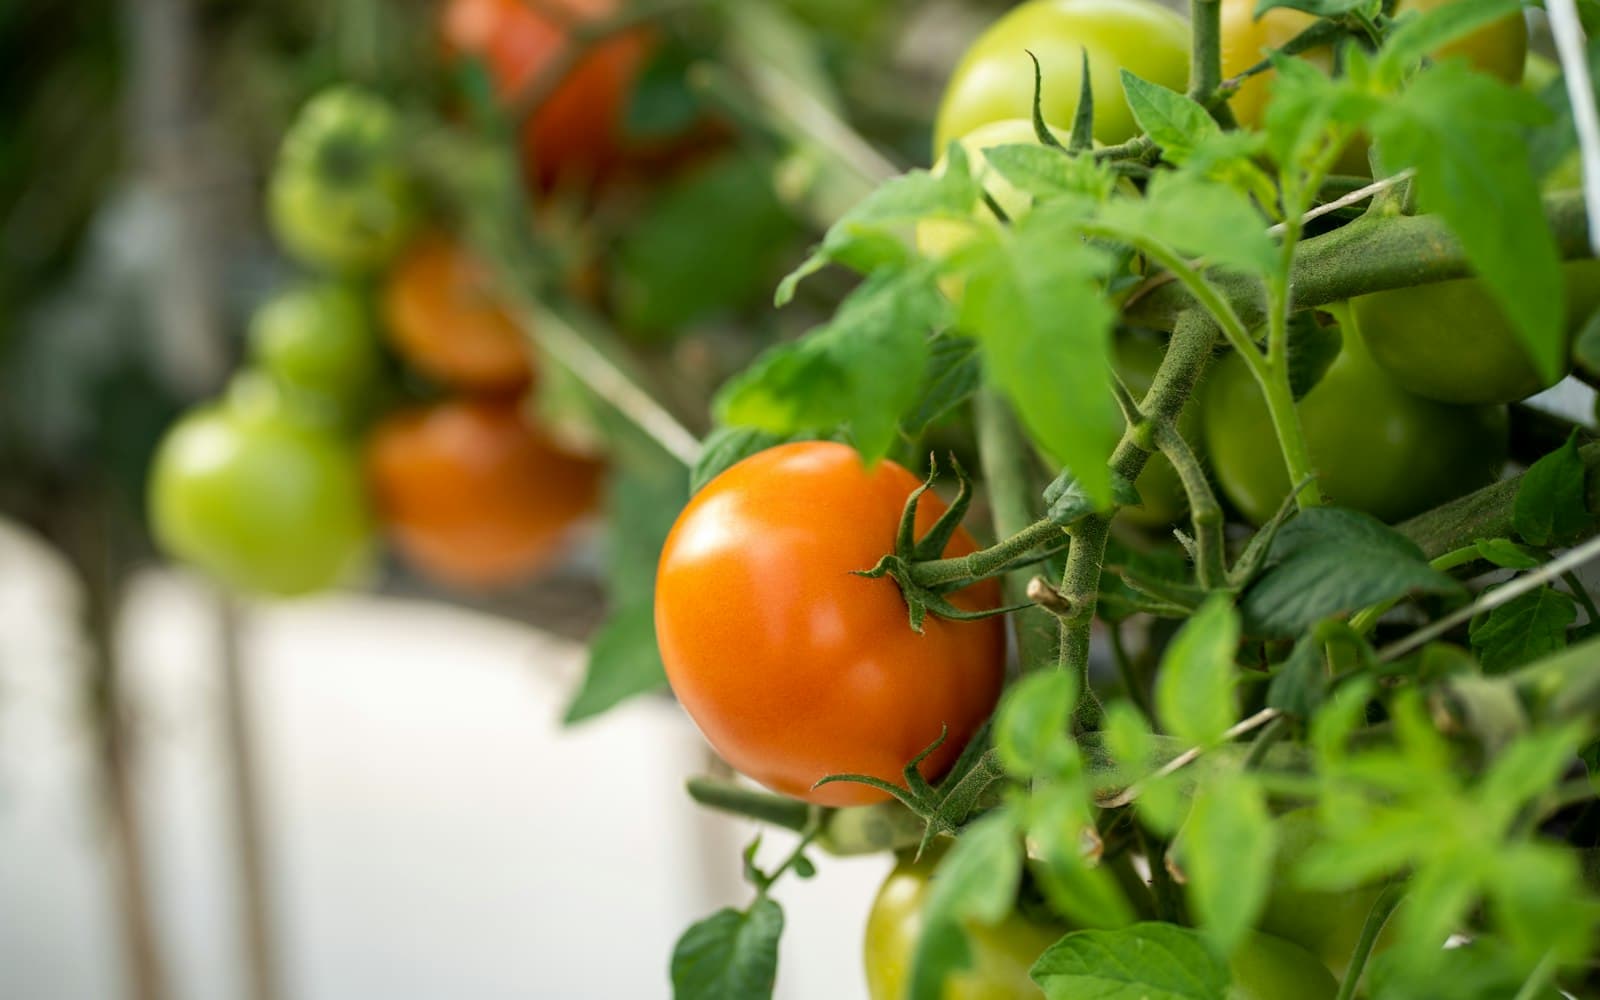
By midsummer we had a steady supply of small tomatoes. The plant stayed tidy, the fruit was easy to spot and pick, and we never dealt with soil splash on the leaves, which can spread fungal diseases like early blight. That was a genuine, practical benefit we had not fully anticipated before starting.
If you are new to growing food in small spaces, you might also enjoy our post on Container Gardening 101: Grow Food in Small Spaces, which covers soil mixes, drainage, and container sizing in more detail than we can fit here.
What did not work as well as we hoped
The bucket dried out very quickly on hot days. We are talking once a day in mild weather, and sometimes twice a day when temperatures climbed above 85 degrees Fahrenheit. If you travel frequently or tend to forget watering, this method will be harder to sustain than a ground bed or a larger raised container.
We also noticed that the plant needed more fertilizer than we initially gave it. Because we were watering so frequently, nutrients leached out of the soil faster than usual. We added a diluted liquid tomato fertilizer every two weeks starting about a month after transplanting, following the label rate. Do not exceed label recommendations on fertilizer — more is not better with container plants, and over-fertilizing can burn roots and reduce fruit production.
One more honest note: the hanging bracket or hook holding the bucket needs to be genuinely strong. A five-gallon bucket filled with moist soil weighs roughly 40 to 50 pounds. A small nail in drywall will not hold that. We used a heavy-duty ceiling hook rated for at least 75 pounds, screwed into a solid wooden beam.
Which tomato varieties work best for this method
Not every tomato is a good candidate for upside-down growing. Smaller, more compact varieties perform significantly better than large indeterminate types, which can grow six feet or more and become too heavy for the container to support.
- Tumbling Tom (red or yellow) — bred specifically for hanging baskets and downward growth
- Patio Princess — compact determinate, good fruit set in containers
- Tiny Tim — very small plant, perfect for lighter buckets or smaller hooks
- Tumbler — another variety selected for container and hanging use
- Sweet 100 cherry tomato — can work but grows vigorously and may need more support
We would steer beginners away from large slicing tomatoes like Celebrity or Beefsteak for this method. They are not impossible, but the weight and size of the vines make management much harder. If you are just starting out with vegetables in general, our post on 10 Easy Vegetables to Grow for Beginners can help you decide which crops to prioritize in your first season.
Our honest verdict
Upside-down tomatoes are not a shortcut, and they are not going to outperform a well-tended raised bed. But they are a real and workable option if you have hanging space, no ground access, and the willingness to water consistently. We grew enough tomatoes for fresh eating through most of July and August, which felt like a genuine success for a single five-gallon bucket on a balcony.
If you are building out your small-space garden plan for the season, our How to Start a Vegetable Garden (A Beginner's Guide) walks through layout, timing, and choosing what to grow based on your actual space. And if you want a structured starting point that pulls everything together, The Complete Beginner Garden Kit includes printable planning sheets, a seasonal timing guide, and spacing references that make it easier to keep track of what you planted, when, and how it performed.
Frequently asked questions
Can I use any tomato variety for upside-down growing?
You can try most varieties, but compact determinate types and varieties bred for containers — like Tumbling Tom or Tiny Tim — will give you much better results with less frustration. Large indeterminate varieties grow vigorously and become heavy, making the container harder to manage and increasing the load on your hook or bracket.
How often do I need to water an upside-down tomato plant?
In warm weather, plan on watering once a day at minimum. On very hot days above 85 degrees Fahrenheit, twice a day may be necessary. Check the soil moisture by pressing your finger an inch into the surface — if it feels dry, water thoroughly until it drains from the top of the bucket. Inconsistent watering can cause blossom end rot and cracked fruit.
Does the plant really grow downward, or does it try to turn back up?
Both, in a way. The main stem and early growth will hang downward, but the growing tips of the vines often curve slightly upward toward light over time. This is normal plant behavior and does not mean anything is wrong. The fruit still develops and hangs freely, which is the main practical benefit of the method.
When is it safe to move my seedlings outside?
Wait until after your last expected frost date and until nighttime temperatures are consistently staying above 50 degrees Fahrenheit. Before moving seedlings from indoors to outside permanently, harden them off over seven to ten days by placing them outside for a few hours each day and gradually increasing their exposure to direct sun and outdoor conditions. Skipping this step can cause leaf scorch and transplant shock.
Share this article