Instafarm Microgreens: Grow Fresh Greens in 7 Days
Discover how Instafarm microgreens let beginners harvest fresh, nutritious greens in just one week — no garden, no experience, and no fuss required.

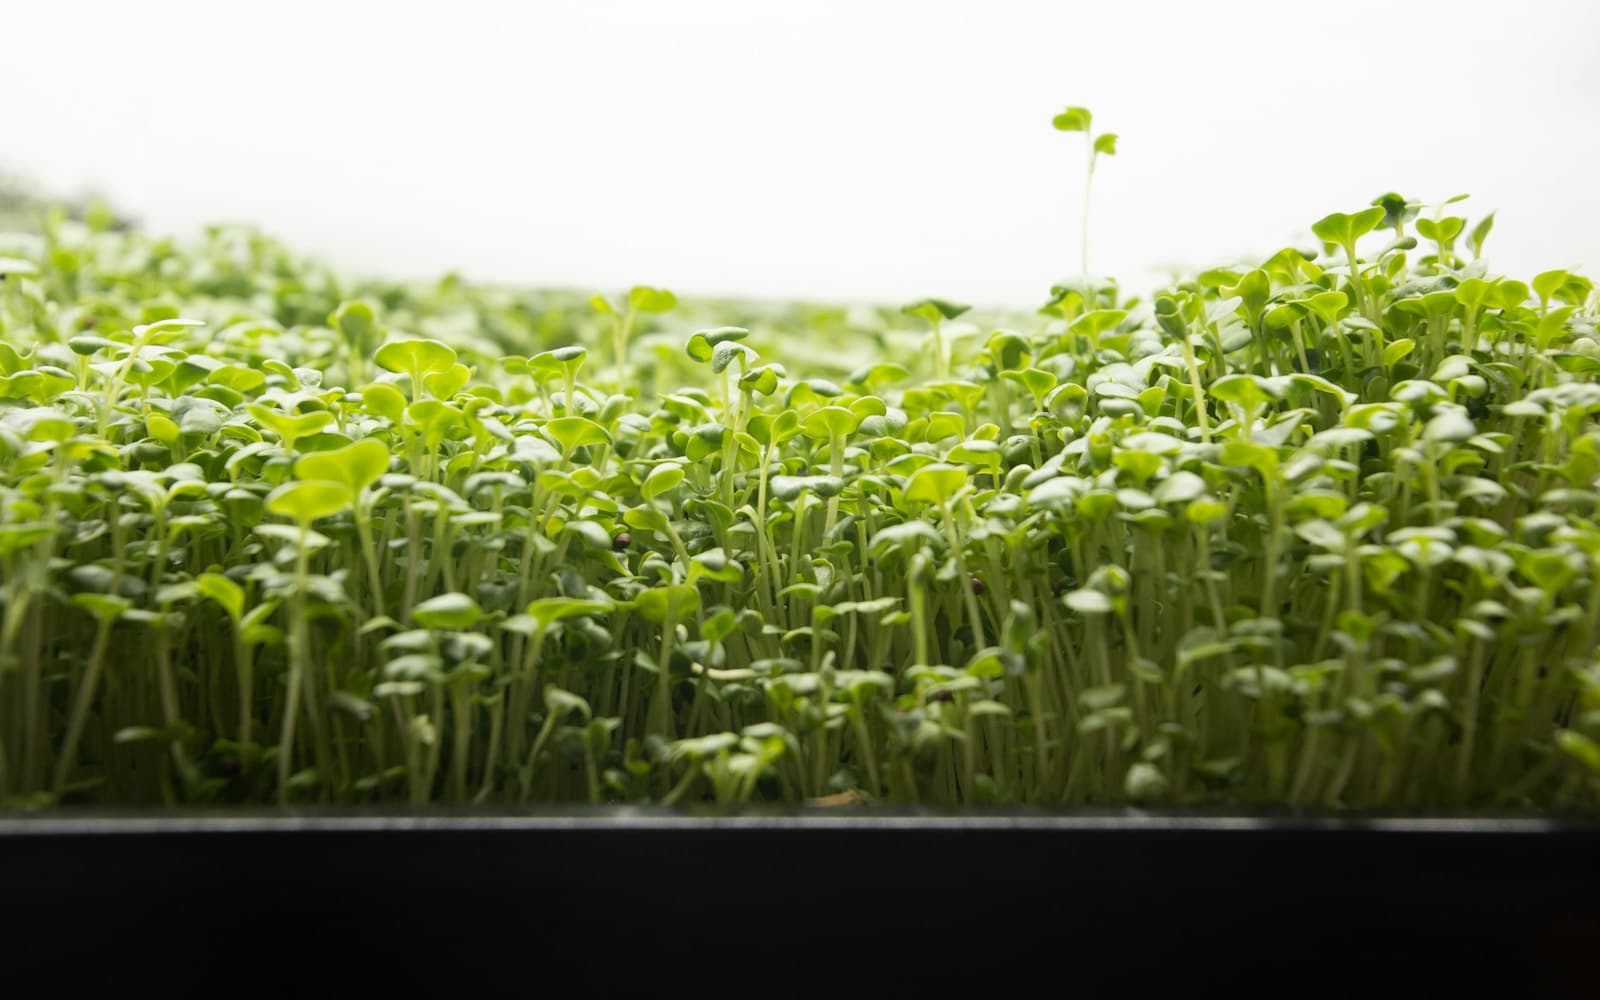
If you have ever wanted to grow your own food but felt put off by the time, space, or experience required, microgreens are a genuinely good place to start. Instafarm microgreens in particular are designed to move fast, going from seed to harvest in roughly seven days depending on the variety. This post walks you through exactly what that process looks like, what you will need, and how to avoid the small mistakes that trip up most first-time growers.
What "Instafarm" actually means for microgreens
The term instafarm refers to compact, self-contained growing setups intended for countertop or shelf use indoors. These systems typically include a shallow tray, a growing medium such as a fiber mat or fine coco coir, and sometimes a small LED grow light panel. The idea is to reduce the barrier to entry: you do not need a garden bed, outdoor space, or any soil from the yard. The word is sometimes used loosely by different brands, so it is worth checking whether your specific kit includes seeds, a growing medium, and a light source, or whether those are sold separately.
Microgreens grown in these setups are the same as microgreens grown in any other context. They are young seedlings harvested at the first true leaf stage or just before, and they taste like a concentrated version of the mature plant. If you want a broader look at the category before diving into a specific growing method, The Complete Guide to Microgreens: Grow, Eat and Buy Them Like a Pro covers the full picture in one place.
Choosing the right seeds for a seven-day harvest
Not every microgreen reaches harvest in seven days, and setting realistic expectations here will save you frustration. The fastest varieties tend to have small, thin seeds that germinate quickly and grow without much fuss. Below is a practical reference for common instafarm-friendly varieties.
| Variety | Days to harvest | Seed density (per 10x20 tray) | Soak before planting? |
|---|---|---|---|
| Radish | 6 to 8 | 30 to 40 g | No |
| Mustard | 6 to 8 | 25 to 35 g | No |
| Broccoli | 7 to 10 | 25 to 30 g | No |
| Arugula | 7 to 9 | 20 to 25 g | No |
| Peas | 10 to 14 | 180 to 220 g | Yes, 8 to 12 hours |
| Sunflower | 10 to 12 | 100 to 130 g | Yes, 8 hours |
For a true seven-day harvest, radish and mustard are your most reliable choices. Peas and sunflower are worth growing, but budget closer to twelve days so you are not harvesting too early and losing flavor and texture.
Setting up your growing tray step by step
The setup process is straightforward, but a few small details make a real difference in how evenly your greens grow.
- Fill your tray with a shallow layer of growing medium, about one inch deep for soil or coco coir. If you are using a fiber mat, simply lay it flat and moisten it thoroughly before seeding.
- Spread seeds as evenly as possible across the surface. Clumping leads to uneven germination and increases the risk of mold. Use the seed density figures in the table above as a starting point and adjust slightly based on your tray size.
- After seeding, mist the surface lightly with clean water. Do not drench it. The medium should feel damp, not wet enough to pool water.
- Cover the tray with a second tray or a dark lid and stack a small weight on top, such as a filled water bottle. This blackout period and gentle pressure encourages strong, upright stem growth during germination, typically two to three days.
- Once shoots are pushing up against the cover and reaching about half an inch tall, remove the lid and move the tray under your light source or to a bright windowsill.
For a more detailed walkthrough of the full process, including what to do if germination is uneven, How to Grow Microgreens at Home (Step-by-Step for Beginners) is a helpful companion read.
Light, water, and temperature during the growing week
Microgreens are forgiving, but they do have preferences. Temperature is one of the most important factors. Most common varieties germinate and grow best between 65 and 75 degrees Fahrenheit. Below 60 degrees, germination slows noticeably. Above 80 degrees, you risk leggy growth and a higher chance of mold forming at the base of the stems. Instafarm setups kept on a kitchen counter in a normally heated home usually fall within the right range without any extra effort.
Once the blackout period ends and you expose your tray to light, aim for 12 to 16 hours of light per day if you are using a grow light. A bright south-facing windowsill can work in summer but may not provide enough intensity in winter months, especially if you are in a northern climate. Pale, stretchy stems are a sign the plants want more light, not more water.
Water by bottom watering when possible: pour a small amount of water into a second tray placed underneath and let the growing medium absorb it from below. This keeps the leaf surface dry and significantly reduces the chance of mold. Top misting is fine during the blackout period, but switch to bottom watering once the lid comes off.
Harvesting and using your microgreens
Harvest when the first true leaves are just beginning to open, or if you prefer a slightly milder flavor, at the cotyledon stage before the true leaves appear. Use clean kitchen scissors and cut just above the growing medium. Rinse gently under cool water, pat dry, and use immediately or store in an airtight container lined with a dry paper towel in the refrigerator for up to five days.
Microgreens are easy to work into everyday meals without much thought. If you are looking for ideas beyond scattering them on top of a plate, 15 Ways to Use Microgreens (That Aren't Just Garnish) gives concrete, practical suggestions that actually change how you eat them.
Keeping track of your grows
One of the most useful habits you can build early is writing down what you planted, when you seeded it, what the conditions were like, and how the harvest turned out. It sounds like extra work, but even a few notes will help you figure out why one tray outperformed another. If you would like a simple way to stay organized, the Seed-Starting Tracker is a printable that gives you a clean format for logging each tray without overcomplicating it. It is particularly handy when you start running multiple trays at once with different varieties and staggered planting dates.
Frequently asked questions
Do instafarm microgreens need special seeds, or can I use any microgreen seeds?
You can use any seeds labeled for microgreen or sprouting use. Avoid seeds treated with fungicides or other coatings, which are sometimes used for field planting and are not appropriate for food crops harvested at this stage. Look for untreated seeds sold specifically for sprouting or microgreens, which are widely available from seed suppliers and garden centers.
Why are my microgreens growing unevenly or falling over?
Uneven growth is usually caused by inconsistent seed spreading, low light, or insufficient pressure during the blackout period. Make sure seeds are distributed as evenly as possible before covering, use a firm weight during germination, and check that your light source is positioned directly above the tray rather than to the side, which causes the stems to lean.
Can I regrow microgreens from the same tray after harvesting?
Most microgreens do not regrow reliably after cutting. The energy stored in the seed is largely spent by the time you harvest, and the remaining root mass does not have enough reserves to produce a second flush worth eating. The practical approach is to start a new tray every five to seven days on a staggered schedule so you always have a tray ready to harvest.
Is mold a serious problem, and how do I prevent it?
Mold at the base of microgreen stems is common and usually caused by too much moisture on the leaf or stem surface, poor air circulation, or overseeding. Switch to bottom watering once germination begins, avoid covering the tray for longer than necessary, and make sure there is some gentle air movement around your growing area. A small fan set to low a few feet away from the tray can help significantly in humid kitchens.
Share this article