Making Sweet Potato Seedlings Step by Step
Learn how to grow sweet potato slips from scratch with this easy step-by-step guide perfect for beginner gardeners starting their first harvest.

Sweet potatoes are one of those plants that seem mysterious at first — you do not start them from seed the way you would a tomato or a pepper. Instead, you grow slips, which are small rooted shoots that sprout directly from the sweet potato itself. Once you understand the process, it is genuinely straightforward, and it is a satisfying way to turn one grocery store sweet potato into a dozen or more plants ready for your garden. This guide walks you through every step, from choosing your potato to transplanting healthy slips into the ground.
What Is a Slip and Why Do Sweet Potatoes Need One?
A slip is a rooted shoot that grows from the flesh or skin of a mature sweet potato. Sweet potatoes do not produce seeds the way most vegetables do, so slips are the standard propagation method used by home gardeners and commercial growers alike. Each sweet potato can produce anywhere from three to twelve slips depending on its size, the variety, and the warmth of its growing environment. The slips eventually develop their own root systems and, once transplanted, grow into full sweet potato plants that produce a new harvest underground.
If you are newer to growing your own food from scratch, it helps to read through How to Start a Vegetable Garden (A Beginner's Guide) first, since it covers soil preparation and spacing concepts that apply directly to planting sweet potato slips later in the season.
Choosing the Right Sweet Potato to Start With
Not every sweet potato you find at the grocery store will sprout reliably. Some are treated with a sprout inhibitor to extend their shelf life. Look for organic sweet potatoes when possible, since they are less likely to have been treated. Farmers market sweet potatoes are another good option. If you can find certified disease-free seed sweet potatoes from a garden supplier, those are ideal because they carry a lower risk of introducing soil-borne diseases into your garden.
Choose a potato that is firm, smooth-skinned, and free of soft spots or mold. Medium-sized sweet potatoes tend to produce more slips per potato than very large ones. Common varieties suited to home gardens include Beauregard, Georgia Jet, and Covington, though what matters most is starting with a healthy, untreated tuber.
How to Start Your Slips: Two Simple Methods
There are two reliable methods for sprouting sweet potato slips at home. The water method is the most common for beginners. The soil method works well if you want to skip a transplanting step later on.
- Water method: Push three or four toothpicks into the middle of the sweet potato to act as supports, then suspend it halfway into a jar or glass of water with the root end (the more tapered end) pointing down. Place the jar in a warm spot that receives bright indirect light. Change the water every few days to prevent bacterial buildup. Slips will begin to emerge within two to four weeks.
- Soil method: Lay the sweet potato on its side and bury it halfway in a tray of barely moist potting mix or sand. Keep the tray in a warm location, ideally between 75 and 85 degrees Fahrenheit. Mist the soil lightly every day or two to maintain moisture without waterlogging. Slips typically appear within three to five weeks using this method.
Warmth is the most important factor in either case. A heat mat set to around 80 degrees Fahrenheit will speed up sprouting noticeably compared to leaving the potato on a cool countertop.
Separating and Rooting Your Slips
Once your slips are three to five inches tall and have a few leaves, they are ready to be separated from the mother potato. Gently twist each slip at its base and pull it away, or use clean scissors to cut it off close to the potato. Do not worry if the slip has little or no root at this point — that is normal.
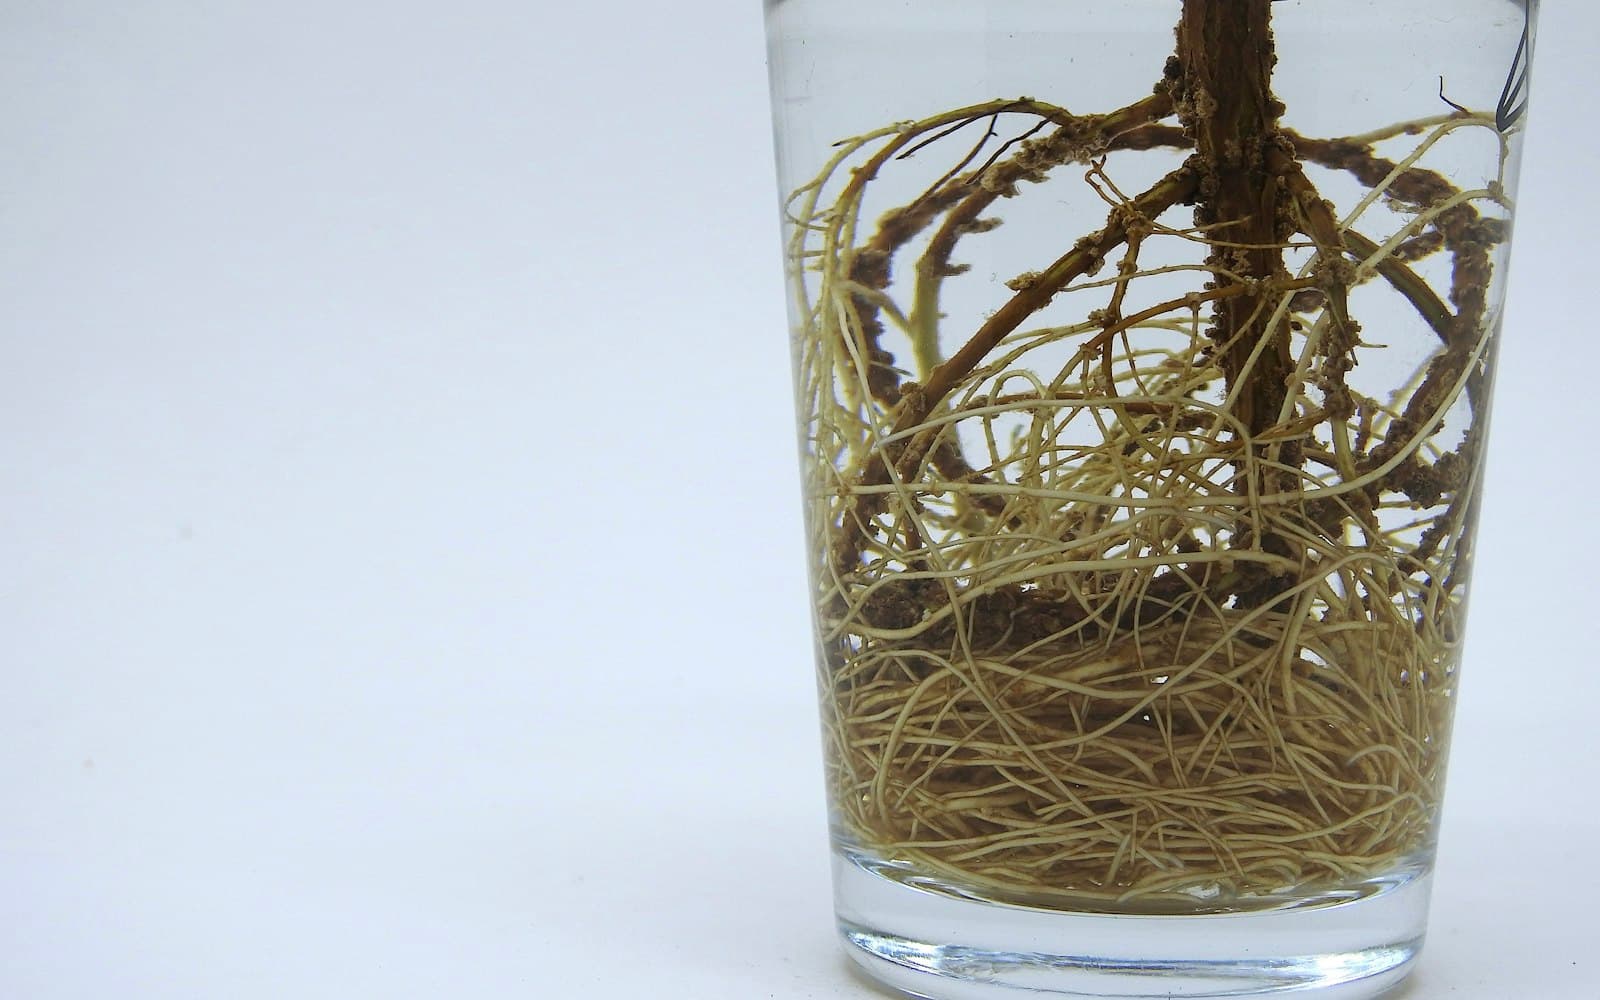
Place the separated slips in a shallow container of clean water with just the bottom inch or two submerged. Set them in a bright spot out of direct afternoon sun. Within five to ten days, you will see white roots emerging from the base of each slip. Once the roots are at least an inch long, the slips are ready to transplant. You can keep them in water for up to two weeks if your outdoor planting date has not arrived yet, just refresh the water every couple of days.
Timing and Transplanting Into the Garden
Sweet potatoes are warm-season crops that are sensitive to frost. They should not go into the ground until at least two weeks after your last expected frost date and the soil temperature has reached at least 60 degrees Fahrenheit, with 65 to 70 degrees being more reliable for strong early growth. Planting too early in cold soil stunts growth and increases the risk of rot.
| Detail | Recommended range |
|---|---|
| Soil temperature at planting | 60 to 70 degrees Fahrenheit minimum |
| Spacing between slips | 12 to 18 inches apart in the row |
| Row spacing | 36 to 48 inches between rows |
| Planting depth | Bury the slip so two or three leaf nodes are underground |
| Days to harvest | 90 to 120 days depending on variety |
| Start slips indoors before last frost | Six to eight weeks ahead |
Water the slips in well after planting and keep the soil consistently moist for the first two weeks while they establish. After that, sweet potatoes are fairly drought-tolerant. If you are working with a small outdoor space, Container Gardening 101: Grow Food in Small Spaces has practical advice on growing vining crops in limited areas, including which container sizes actually work.
Caring for Slips Through the Growing Season
Sweet potatoes are low-maintenance once they are established. The vines spread enthusiastically, so give them room or plan to redirect them periodically. Avoid high-nitrogen fertilizers after the first few weeks, since excess nitrogen pushes leafy vine growth at the expense of the underground tubers you are actually trying to harvest. A balanced fertilizer applied at planting, followed by a phosphorus-leaning feed mid-season, is a reasonable general approach for most home soils.
Watch for sweet potato weevils if you are in the southern United States, and rotate your planting location each year to reduce soil-borne disease pressure. Harvest before the first fall frost by carefully digging with a garden fork, working outward from the plant center to avoid slicing through the tubers. Cure freshly dug sweet potatoes at 85 to 90 degrees Fahrenheit with high humidity for about ten days before storing — this step improves both flavor and storage life significantly.
Sweet potatoes pair well in the garden with other straightforward crops. If you are filling out your growing plan, the list in 10 Easy Vegetables to Grow for Beginners covers several companions that thrive on a similar schedule.
Keeping Track of Your Slip-Starting Timeline
One thing that catches new gardeners off guard is how easy it is to lose track of when you started your slips, when the roots appeared, and when your planting window actually opens. Keeping a simple written record makes a real difference, especially if you are starting multiple varieties or staggering your batches. The Seed-Starting Tracker from the Miniature Harvest shop is designed exactly for this kind of sequential process — it gives you a place to note your start date, rooting progress, and transplant target so nothing slips through the cracks. It is a small tool, but it removes a lot of the guesswork that tends to trip up first-time growers.
Frequently asked questions
Can I use a sweet potato from the grocery store to make slips?
Yes, but results vary. Conventionally grown grocery store sweet potatoes are sometimes treated with a sprout inhibitor, which can prevent or significantly slow sprouting. Organic sweet potatoes from the grocery store or sweet potatoes purchased from a farmers market are more likely to sprout without issue. If your potato shows no signs of growth after four weeks in warm conditions, the inhibitor treatment is the most likely cause.
How many slips should I expect from one sweet potato?
A medium-sized sweet potato typically produces between five and ten slips over the course of the sprouting period. Larger potatoes can produce more, but they do not always outperform medium ones. You can harvest slips in batches as they reach the right size rather than waiting for all of them to appear at once, which gives the later ones more time to develop on the mother potato.
My slips are wilting after transplanting. Is something wrong?
Some wilting in the first two to three days after transplanting is normal. The slip is adjusting from a water or tray environment to open soil and may look droopy even when watered adequately. Keep the soil evenly moist and provide shade cloth or a temporary cover during the hottest part of the afternoon for the first few days. If the slip has not recovered and perked up within about a week, check the roots for rot, which can happen if the soil is staying too wet.
What if I do not have space for long vines?
Sweet potato vines can be trained, redirected, or even grown vertically on a trellis with some support. In very small spaces, bush varieties like Porto Rico stay more compact than standard trailing types. You can also grow sweet potatoes in large containers of at least fifteen to twenty gallons, which naturally limits vine spread. The tubers will be somewhat smaller in containers, but the process of making and transplanting slips is identical.
Share this article