Manual Root Lifting Tool for Clean Celeriac Harvesting
Discover how a manual root lifting tool makes celeriac harvesting easier, cleaner, and damage-free. Perfect tips for beginner home gardeners growing root v…

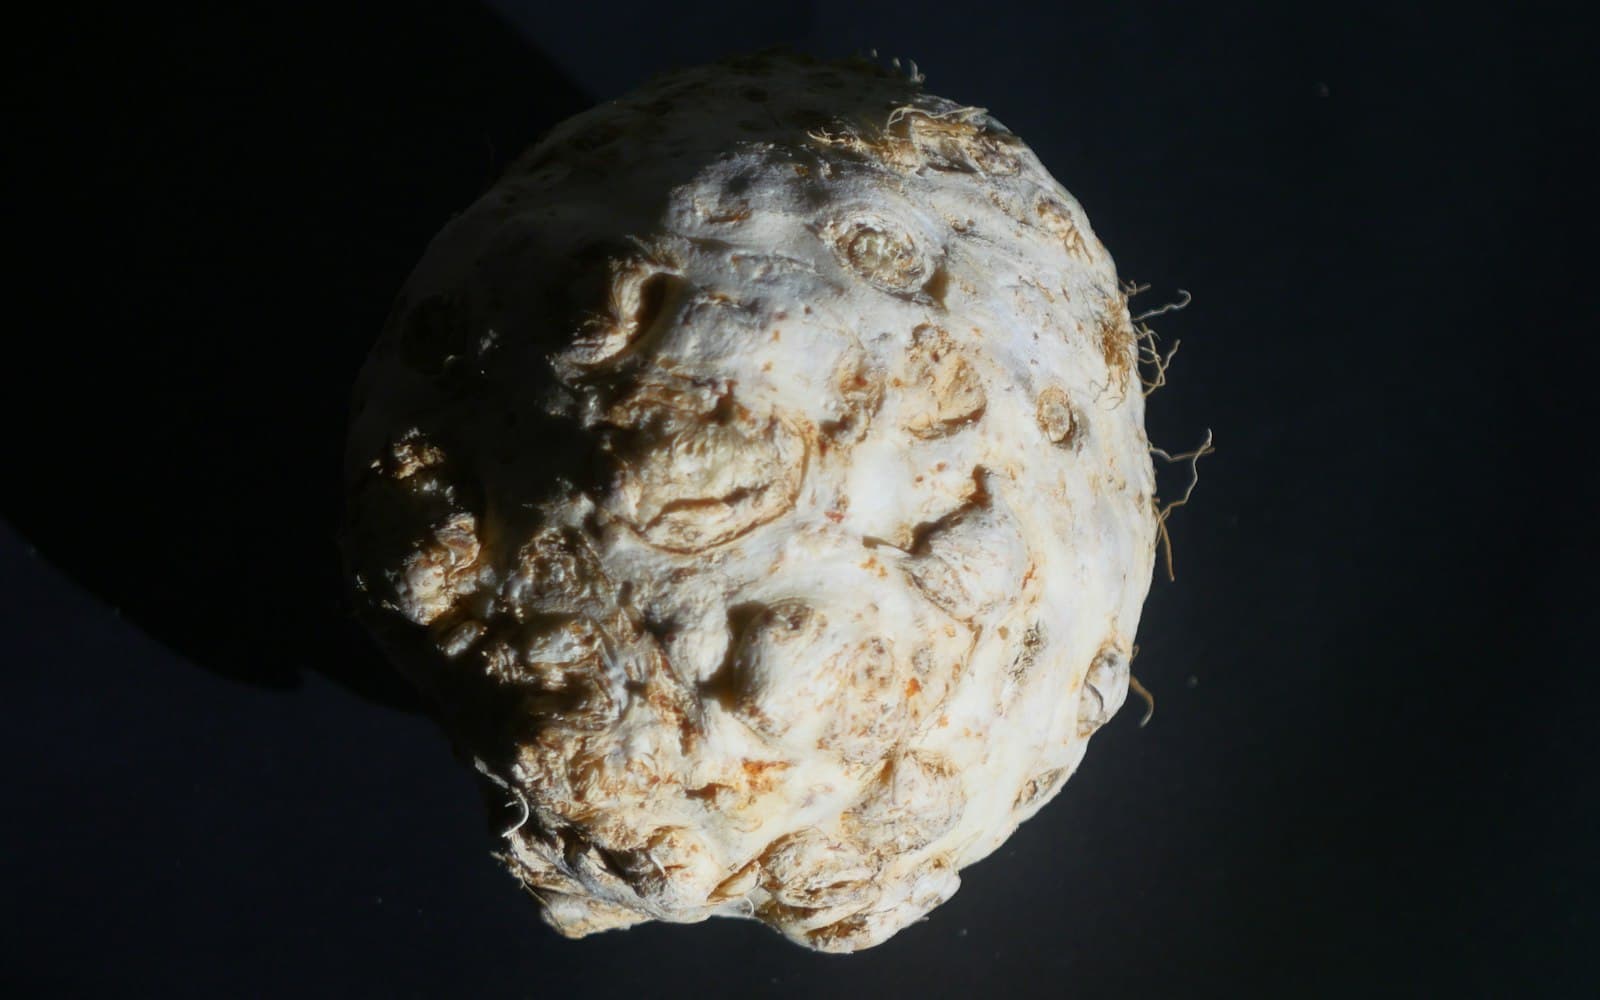
Celeriac is one of those vegetables that rewards patience. You spend the better part of a growing season tending a plant that hides most of its value underground, and then harvest day arrives and you realize you need to get that knobby, soil-packed root out of the ground without snapping off half its flesh. A manual root lifting tool makes that moment much less frustrating. This post walks you through what the tool is, how to use it properly, and how to time your celeriac harvest so the effort actually pays off.
What is a manual root lifting tool?
A root lifter is a long-handled garden fork or flat-tined spade designed to slide under a root vegetable and lever it upward rather than slice through it from above. Unlike a standard digging fork, the tines on a root lifter are typically flat and slightly angled, which lets them pass under the root ball without piercing it. You can find dedicated root-lifting forks at most garden centers, but a standard border fork with flat tines works well for celeriac in home garden beds. The key feature is leverage, not sharp edges.
For celeriac specifically, the tool matters because the swollen hypocotyl (the edible globe) sits partly above the soil line and partly below it, with a tangle of fibrous side roots anchoring it in place. Pulling straight up by the stems almost always tears the root or leaves chunks of it behind. The lifter lets you work from the side, loosen the soil around the entire root system, and bring the whole plant up cleanly.
When to harvest celeriac
Timing your harvest correctly is just as important as technique. Celeriac is a long-season crop, typically needing 110 to 120 days from transplant to maturity. Most home gardeners start seeds indoors in late winter, transplant after the last frost date, and harvest in mid to late autumn.
- Target root diameter: 3 to 4 inches (7 to 10 cm) across the widest point. Smaller roots are edible but harder to peel efficiently.
- Light frost exposure: A couple of light frosts (down to about 28°F / -2°C) actually improve the flavor, converting some starches to sugars. Leave roots in the ground through early frosts if your forecast allows.
- Hard freeze limit: Lift roots before sustained temperatures drop below 25°F (-4°C). Extended hard freezes damage the cell structure of the root, turning it soft and watery after cooking.
- Typical harvest window: October through early November in most temperate zones (USDA zones 5 to 7).
- Days to maturity from seed: 100 to 120 days total, depending on variety. Common varieties include Prinz, Brilliant, and Monarch.
If you are newer to planning out a full vegetable growing season, the post on How to Start a Vegetable Garden (A Beginner's Guide) covers how to map out planting windows from seed start to harvest, which helps you avoid the common mistake of starting celeriac too late.
Preparing the bed before you lift
Do not walk straight out on harvest morning and start prying. A little preparation makes the whole process cleaner and reduces root damage. Water the bed lightly the day before if the soil is very dry. Compacted dry soil grips the roots tightly and increases the chance of snapping off the base when you lever upward.
Clear away any dead lower leaves from around the base of each plant. Celeriac builds up a skirt of old foliage through the season, and this material can get in the way of placing your fork correctly. You want a clear view of where the root meets the soil so you can judge exactly where to insert the tines.
Step-by-step lifting technique
Once the bed is ready, the process itself is straightforward. Work one plant at a time and take your time with each one.
- Step 1: Insert the fork into the soil about 4 to 5 inches (10 to 12 cm) away from the base of the plant, angling the tines slightly downward and inward toward the root.
- Step 2: Push the fork down to its full depth, then pull the handle back slowly toward you. This breaks the soil suction around the lower root system without cutting through the root itself.
- Step 3: Repeat this motion on two or three sides of the plant to loosen the root from all directions.
- Step 4: Once the soil feels loose, place one hand around the base of the stems and apply gentle upward pressure while simultaneously levering the fork upward. The root should come free with minimal force.
- Step 5: Shake off loose soil, then twist off the stems by hand close to the top of the root. Do not cut the stems flush if you plan to store the roots, as a small stub helps protect the flesh from drying out too quickly.
The same gentle, side-entry technique works well for other root crops. If you grow a range of vegetables in a compact space, the tips in Container Gardening 101: Grow Food in Small Spaces include helpful notes on adapting root vegetable care for raised beds and smaller growing areas.
Spacing and planting notes for next season
If this harvest has you thinking about growing a larger or better-organized celeriac bed next year, here is a quick reference for planning.
| Factor | Recommended value |
|---|---|
| Plant spacing (in-row) | 12 inches (30 cm) |
| Row spacing | 18 inches (45 cm) |
| Transplant depth | Crown level with soil surface |
| Start seeds indoors | 10 to 12 weeks before last frost date |
| Transplant outdoors | After last frost, when soil reaches 50°F (10°C) |
| Plants per 4x4 ft raised bed | 8 to 9 plants |
Celeriac needs consistent moisture throughout the season, roughly 1 to 1.5 inches of water per week, and benefits from a layer of mulch to keep the soil from drying out between watering. It is not one of the quickest crops to get growing, but if you want to compare it with some faster options for filling out your garden, 10 Easy Vegetables to Grow for Beginners gives a good overview of crops that reward first-time gardeners with quicker results.
Storing your harvest
Once lifted and cleaned, celeriac stores very well compared to many other root vegetables. Remove all but a small stub of the stems, brush off loose soil (do not wash the roots if you plan to store them), and place them in a cool, dark location. A root cellar, garage, or basement corner that stays between 32°F and 40°F (0°C to 4°C) is ideal. Roots stored in slightly damp sand or sawdust will keep for two to three months without significant quality loss. Roots stored in a refrigerator crisper drawer typically stay firm for three to four weeks.
Plan your next growing season with confidence
If you found the harvest process straightforward and want to build a more organized approach to your whole vegetable garden, the The Complete Beginner Garden Kit includes planning worksheets and seasonal guides that help you map out planting windows, spacing, and harvest timing for crops like celeriac alongside everything else you want to grow. It is a useful reference to have on hand when you are sitting down to plan before seed catalogs arrive in January.
Frequently asked questions
Can I use a regular garden fork instead of a dedicated root lifter?
Yes. A standard border fork or digging fork with flat tines works well for celeriac in most home garden soils. The main thing to avoid is a fork with very sharp, narrow tines designed for breaking up compacted soil, as those are more likely to pierce the root. Wide, flat tines and a long handle that gives you good leverage are the features that matter most.
My celeriac roots are smaller than 3 inches. Can I still harvest them?
You can harvest them at any size, and small roots are perfectly edible. However, if your frost forecast allows a few more weeks in the ground, it is worth waiting. Celeriac grows significantly in the final four to six weeks of the season as the plant puts energy into the root. If a hard freeze is not imminent, leaving undersized roots in place a little longer usually results in a noticeably larger and denser harvest.
Do I need to wash celeriac immediately after lifting?
Not if you plan to store it. Washing introduces moisture that can encourage rot during storage. Brush off loose soil by hand or with a soft brush, then store the roots dry. Only wash celeriac right before you cook or prepare it. If you are using it the same day, washing immediately after harvest is fine.
Can celeriac be grown in containers?
It is possible but challenging. Celeriac needs a container that is at least 12 inches deep and 12 inches wide per plant to allow the root to develop properly, and it requires consistent watering because containers dry out faster than garden beds. A large fabric pot or a deep wooden planter tends to work better than standard plastic pots. The root will likely be smaller than a garden-grown specimen, but it will still be edible and flavorful.
Share this article